We started here, with the big mirror in our guest bathroom (complete with it's own set of soap and lotion dispensers...):

It is held to the wall with metal brackets, not the plastic ones that I see a lot of DIY-ers blog about. You'll see a picture of them later, and I'll explain how my husband cut notches into the wood frame pieces so that we could still use the same brackets that were holding the mirror to the wall before. (Money savings!)
Supplies:
I recently blogged about our cabinet makeover project from oak to black cherry. We used the same black cherry stain and polyurethane spray left over from that project to stain and protect the wood that my husband bought and cut for this mirror frame. One strip of wood baseboard purchased for about $12 was all the wood we needed to cut four lengths for the 36" x 30" mirror frame. My husband used his table saw and other mysterious "Man Tools" to cut 45-degree angles on each end of the four wooden pieces so that they fit together at each corner. (He did not take pictures of this step, but the four pieces are shown below.) We also purchased Liquid Nails as our chosen method of adhering the wooden frame to the mirror before mounting the mirror back to the wall with its original metal brackets. This product runs about $6, and there is probably enough to frame every huge mirror in our house - very cost-effective. You will also need a caulking gun for the Liquid Nails and clamps for the gluing and framing step.


After my husband cut the wood strip into four pieces based on the measurements of our mirror, I lightly sanded off any imperfections on the wood (fine grit), and then I stained the top and sides of each piece with a sponge brush twice over the course of 2 hours (allowing for drying time of each coat).
An important tip that I learned on another DIY-er's blog is that you should stain/paint the back side of each piece on the edge that will potentially be reflected in the mirror once your project is done. (I will call this out in one of the pictures below.)

My husband finished off my staining job with polyurethane to protect the finished product, and then it was his turn to piece the frame together and glue it to the mirror with Liquid Nails.
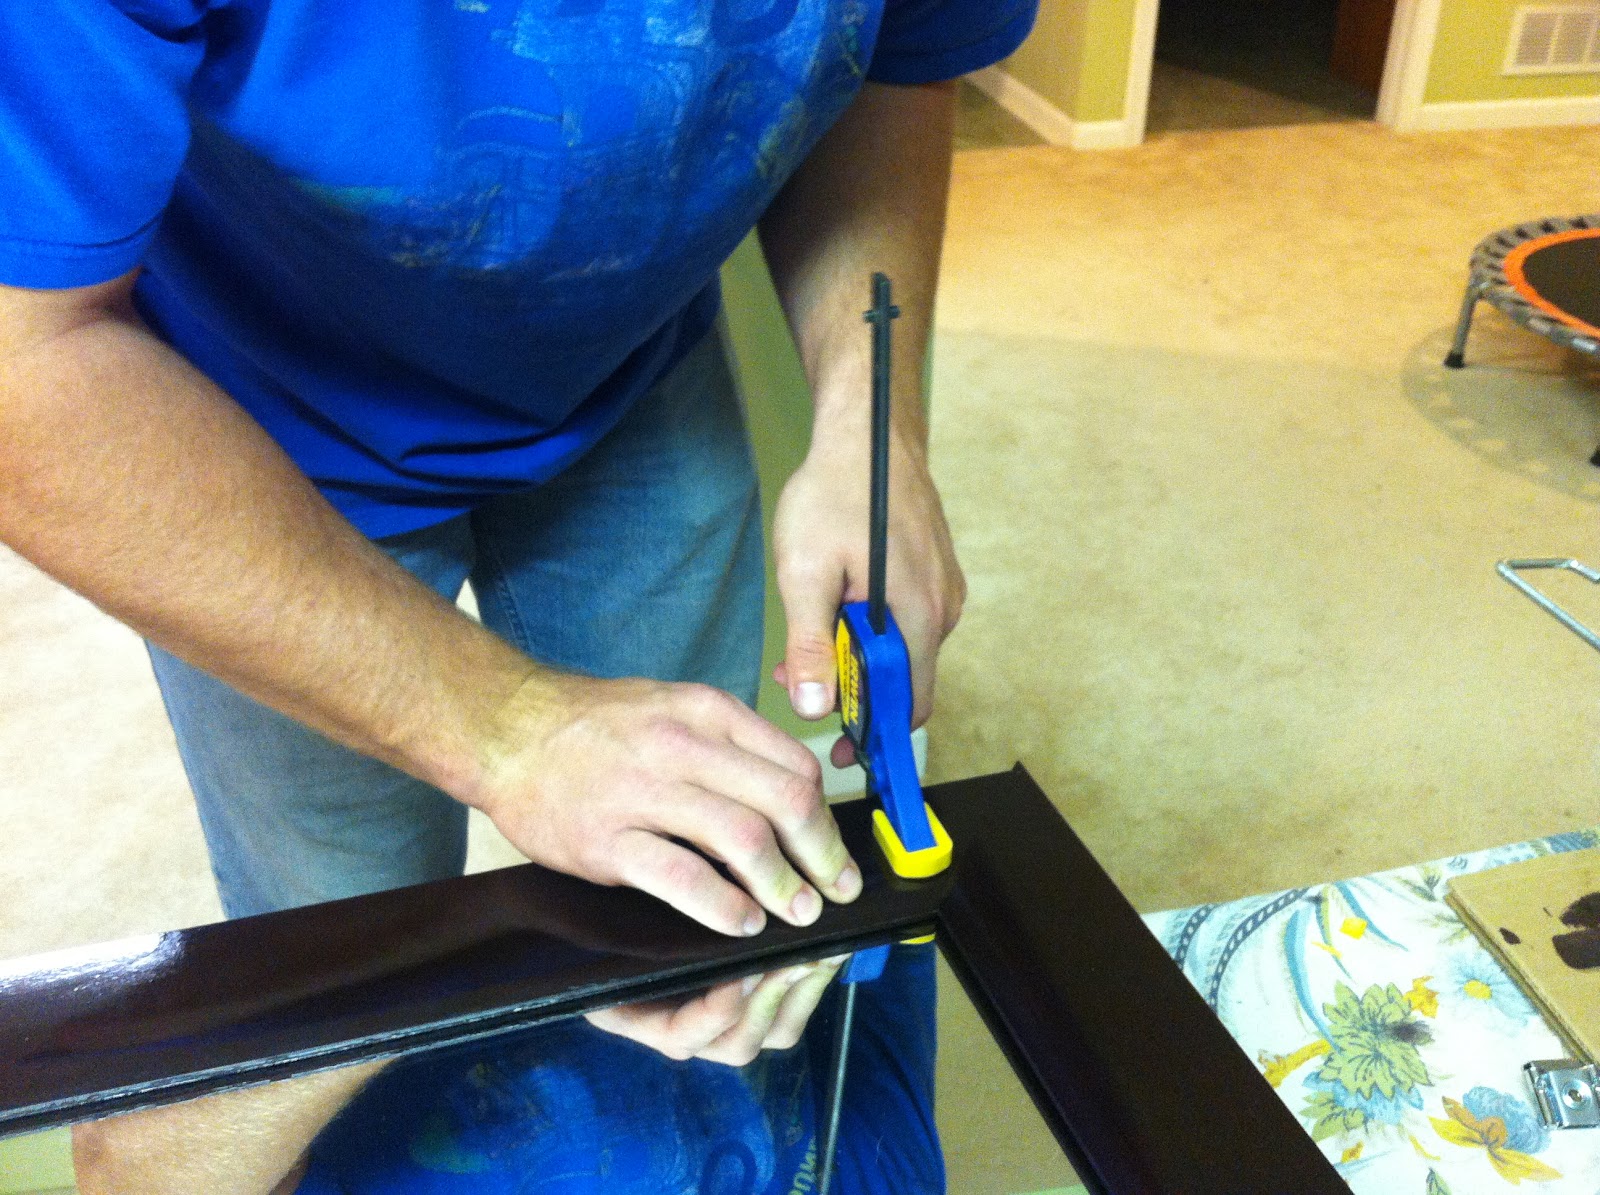
With the mirror lying flat, facing up, he laid each wood piece onto the mirror and matched up the corners in advance of any gluing. Then he used clamps to secure each corner, locking the shape in place to prevent one side from slipping and screwing up the whole thing.
One at a time, he un-clamped a side, turned over the wood piece and applied Liquid Nails to the same inside edge that we stained for potential reflection in the mirror. This is the edge that will be glued to the mirror obviously, but if the wood separates from the mirror even slightly after installation, the reflection will now show a black cherry color, not the wood's original color.

With Liquid Nails applied, he then took the piece back to the mirror and fit it right back into its original spot, lining up the corners again with their adjacent wood pieces, and then clamped the glued piece down again to set it.
Rinse and repeat 3 more times!
On the last piece, everything was lined up perfectly, but for some reason, that piece wanted to bow up in the middle rather than stick nicely to the mirror. So he got a fifth clamp and forced that booger down!

After all four pieces are glued to the mirror, let it dry according to the instructions on the Liquid Nails packaging.
Here is a look at the way my husband notched the back of the wood pieces to allow the metal brackets to still do their job and fit around the mirror's edge, but with some breathing room so that the frame can lie flat against the front of the mirror. When the mirror is hung back on the wall, this will help the mirror and its new frame lie flat against the wall rather than creating any awkward gaps or bumps. Nice and snug! (Ain't he smart?)


.JPG)
We are getting closer to the Big Reveal!
No comments:
Post a Comment