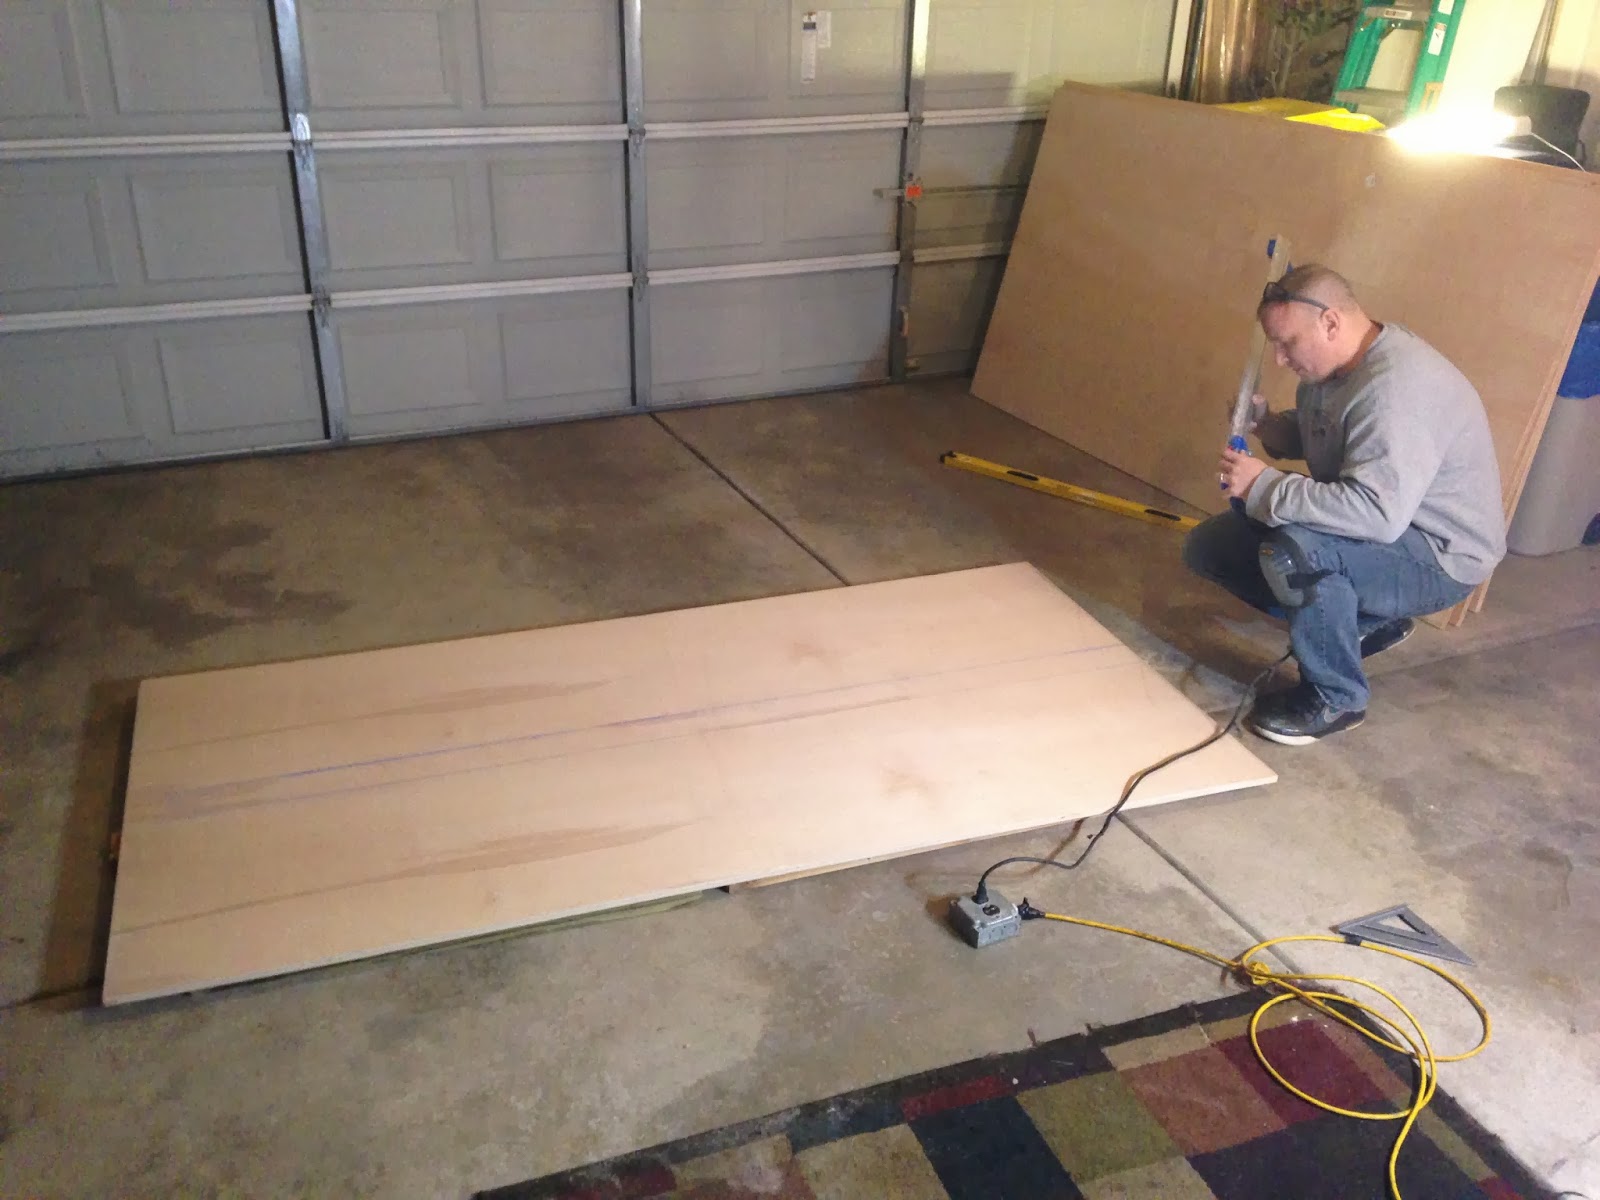
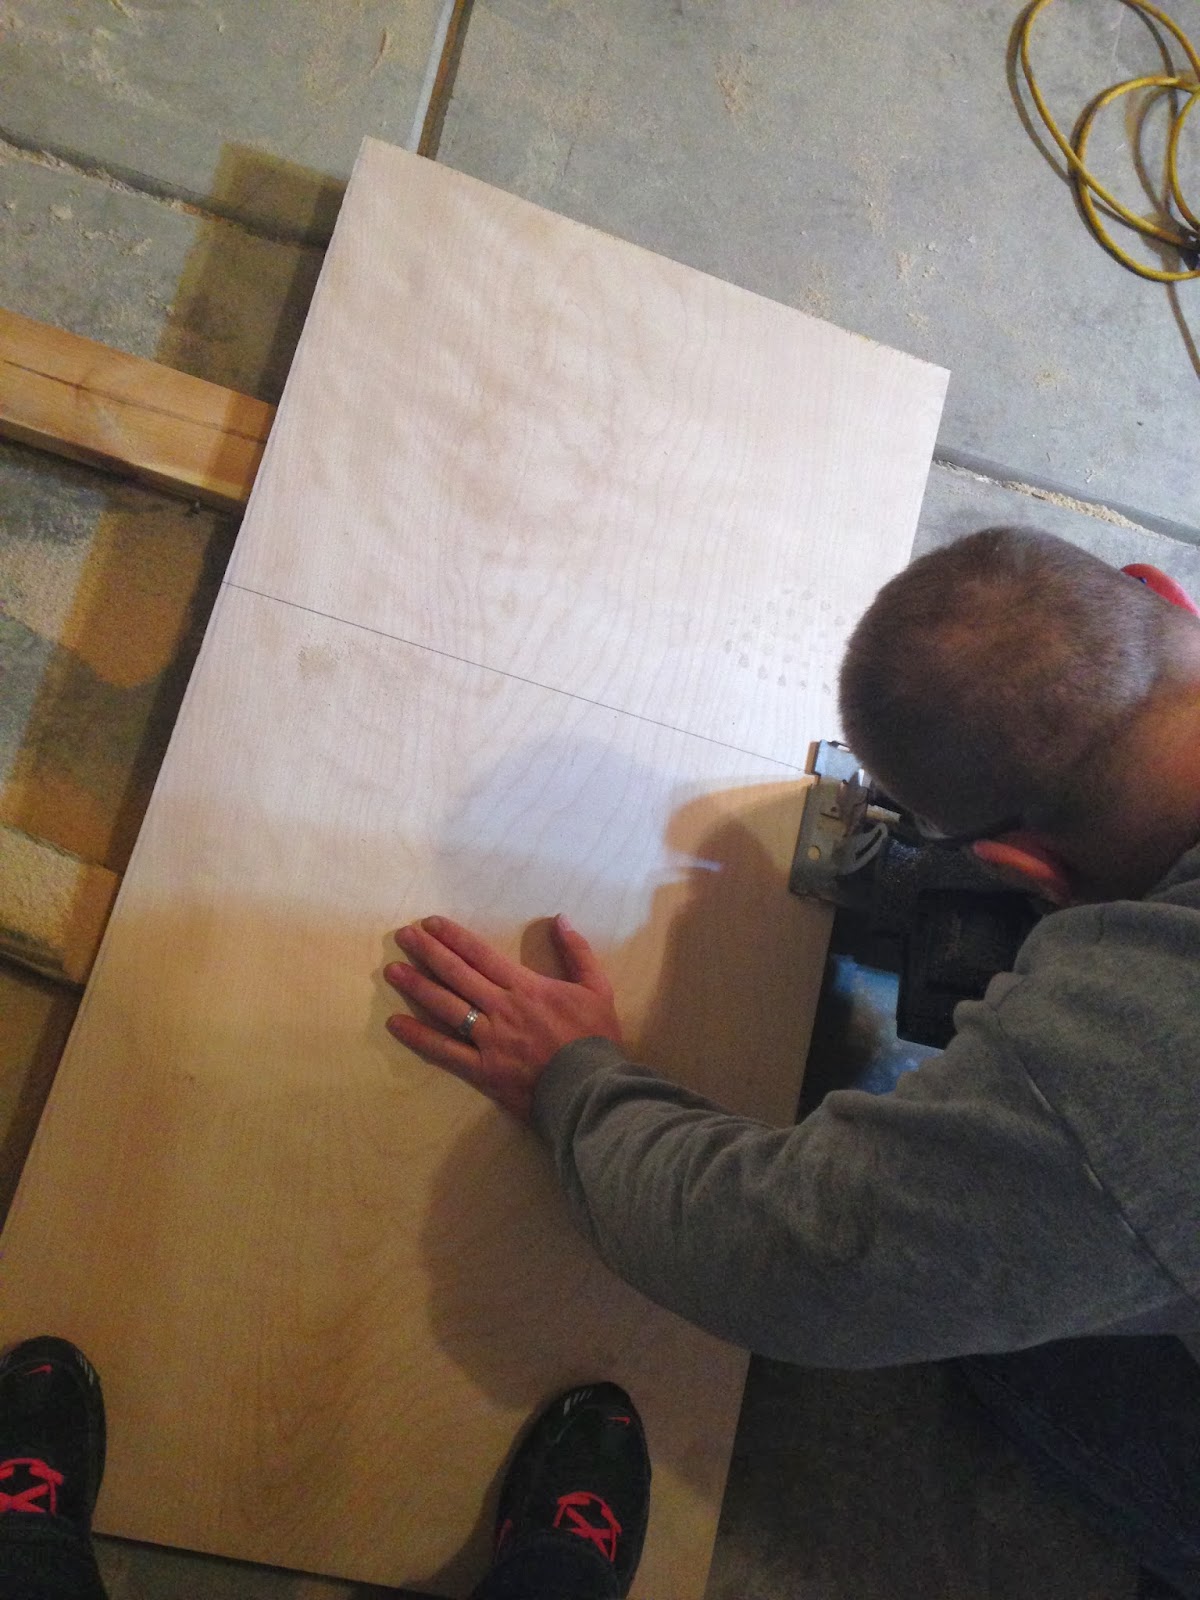
Here's a look at the center of the desk top. We chose to make the desk longer than 8', which is the full length of the board, so these 2 pieces had to be cut and then spliced together in the center for support.
Here's the under-side of the desk top. There is some magical pattern to the way it's all screwed together, and he would gladly tell you if HE did the blogging, but he doesn't, and I don't get it, so you are just going to have to use your imagination.
"103 inches exactly!" - The Husband.
And there she is, nearly finished, with a top on her now. We just need the center shelf to support the center and to divide up our His & Hers workspaces. See that trash can? I just picked that up for $3 at Meijer today. He's all, "I built the perfect wooden desk top with perfect dimensions," and I'm all like, "I got this trash can that someone else made for $3 on clearance!" (Hey, everyone has his/her own unique talents!)
I plan to work at the new desk tomorrow ... on the very left side ... nowhere near the center ... My chair fits perfectly underneath!
Not to be excluded from the fun, our big Dane baby congratulated her daddy on a job well done and got her some belly rubs, too. (I think she's trying to convince him to make the extra boards into a nice big dog bed just for her...)


